
A carefully chosen area rug is one of those items that really can pull a room together in the perfect way. It is also a great way of changing the style and feel of a room without a lot of expense. With so many different options you are sure to have fun with rug shopping as long as you keep a few important design tips in mind.

If you are at all uncertain or would like help in choosing a rug, or any design need that you might have, feel free to contact us at Showhome Furniture. At Showhome Furniture we specialize in helping our clients pick the perfect product for their home. We also offer a free one hour consultation for our clients where we help you deal with whatever design issue you might have. Please call us if you would like our help.

First, consider your budget. It is important to choose a rug that is the best quality that your money can buy. It is worth going rugless for a short time to save for a rug that will withstand the traffic that you will definitely put it through.

Next, in choosing a rug consider the size of the room that you are putting the rug in. Choose a rug that is about 2 feet smaller than the shortest wall. In hallways you should see about six inches of the floor.
Rugs are fun because they do not have to be a certain shape or size. Our cow rugs are very popular to under coffee tables and at the foot of a lounge. Our larger rugs are great to go under beds, dining room tables and pretty much anywhere you can think.

You can choose a more neutral rug to soften the look of your room, or a rug that has pops of color that adds interest to your design.
Rugs are so important to a room design. They add an extra layer of texture that draws your eye in more and excites your brain. Rugs are comfortable. They add cushion to your feel and are great to sit on. The warmth of a rug is great for offsetting hardwood, cement or tile floors. The add an artistic flair to whatever room they are incorporated into.


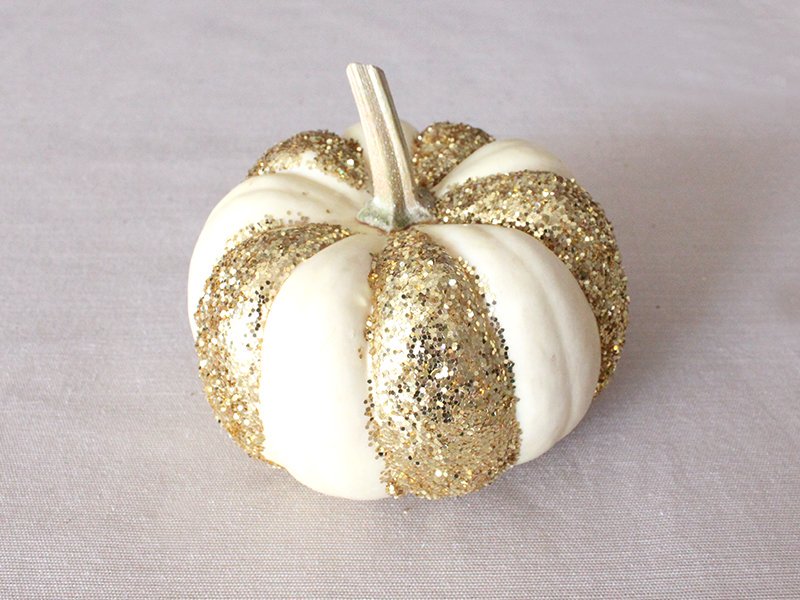


 -dot your pumpkin with glitter to bring in some whimsy to your project.
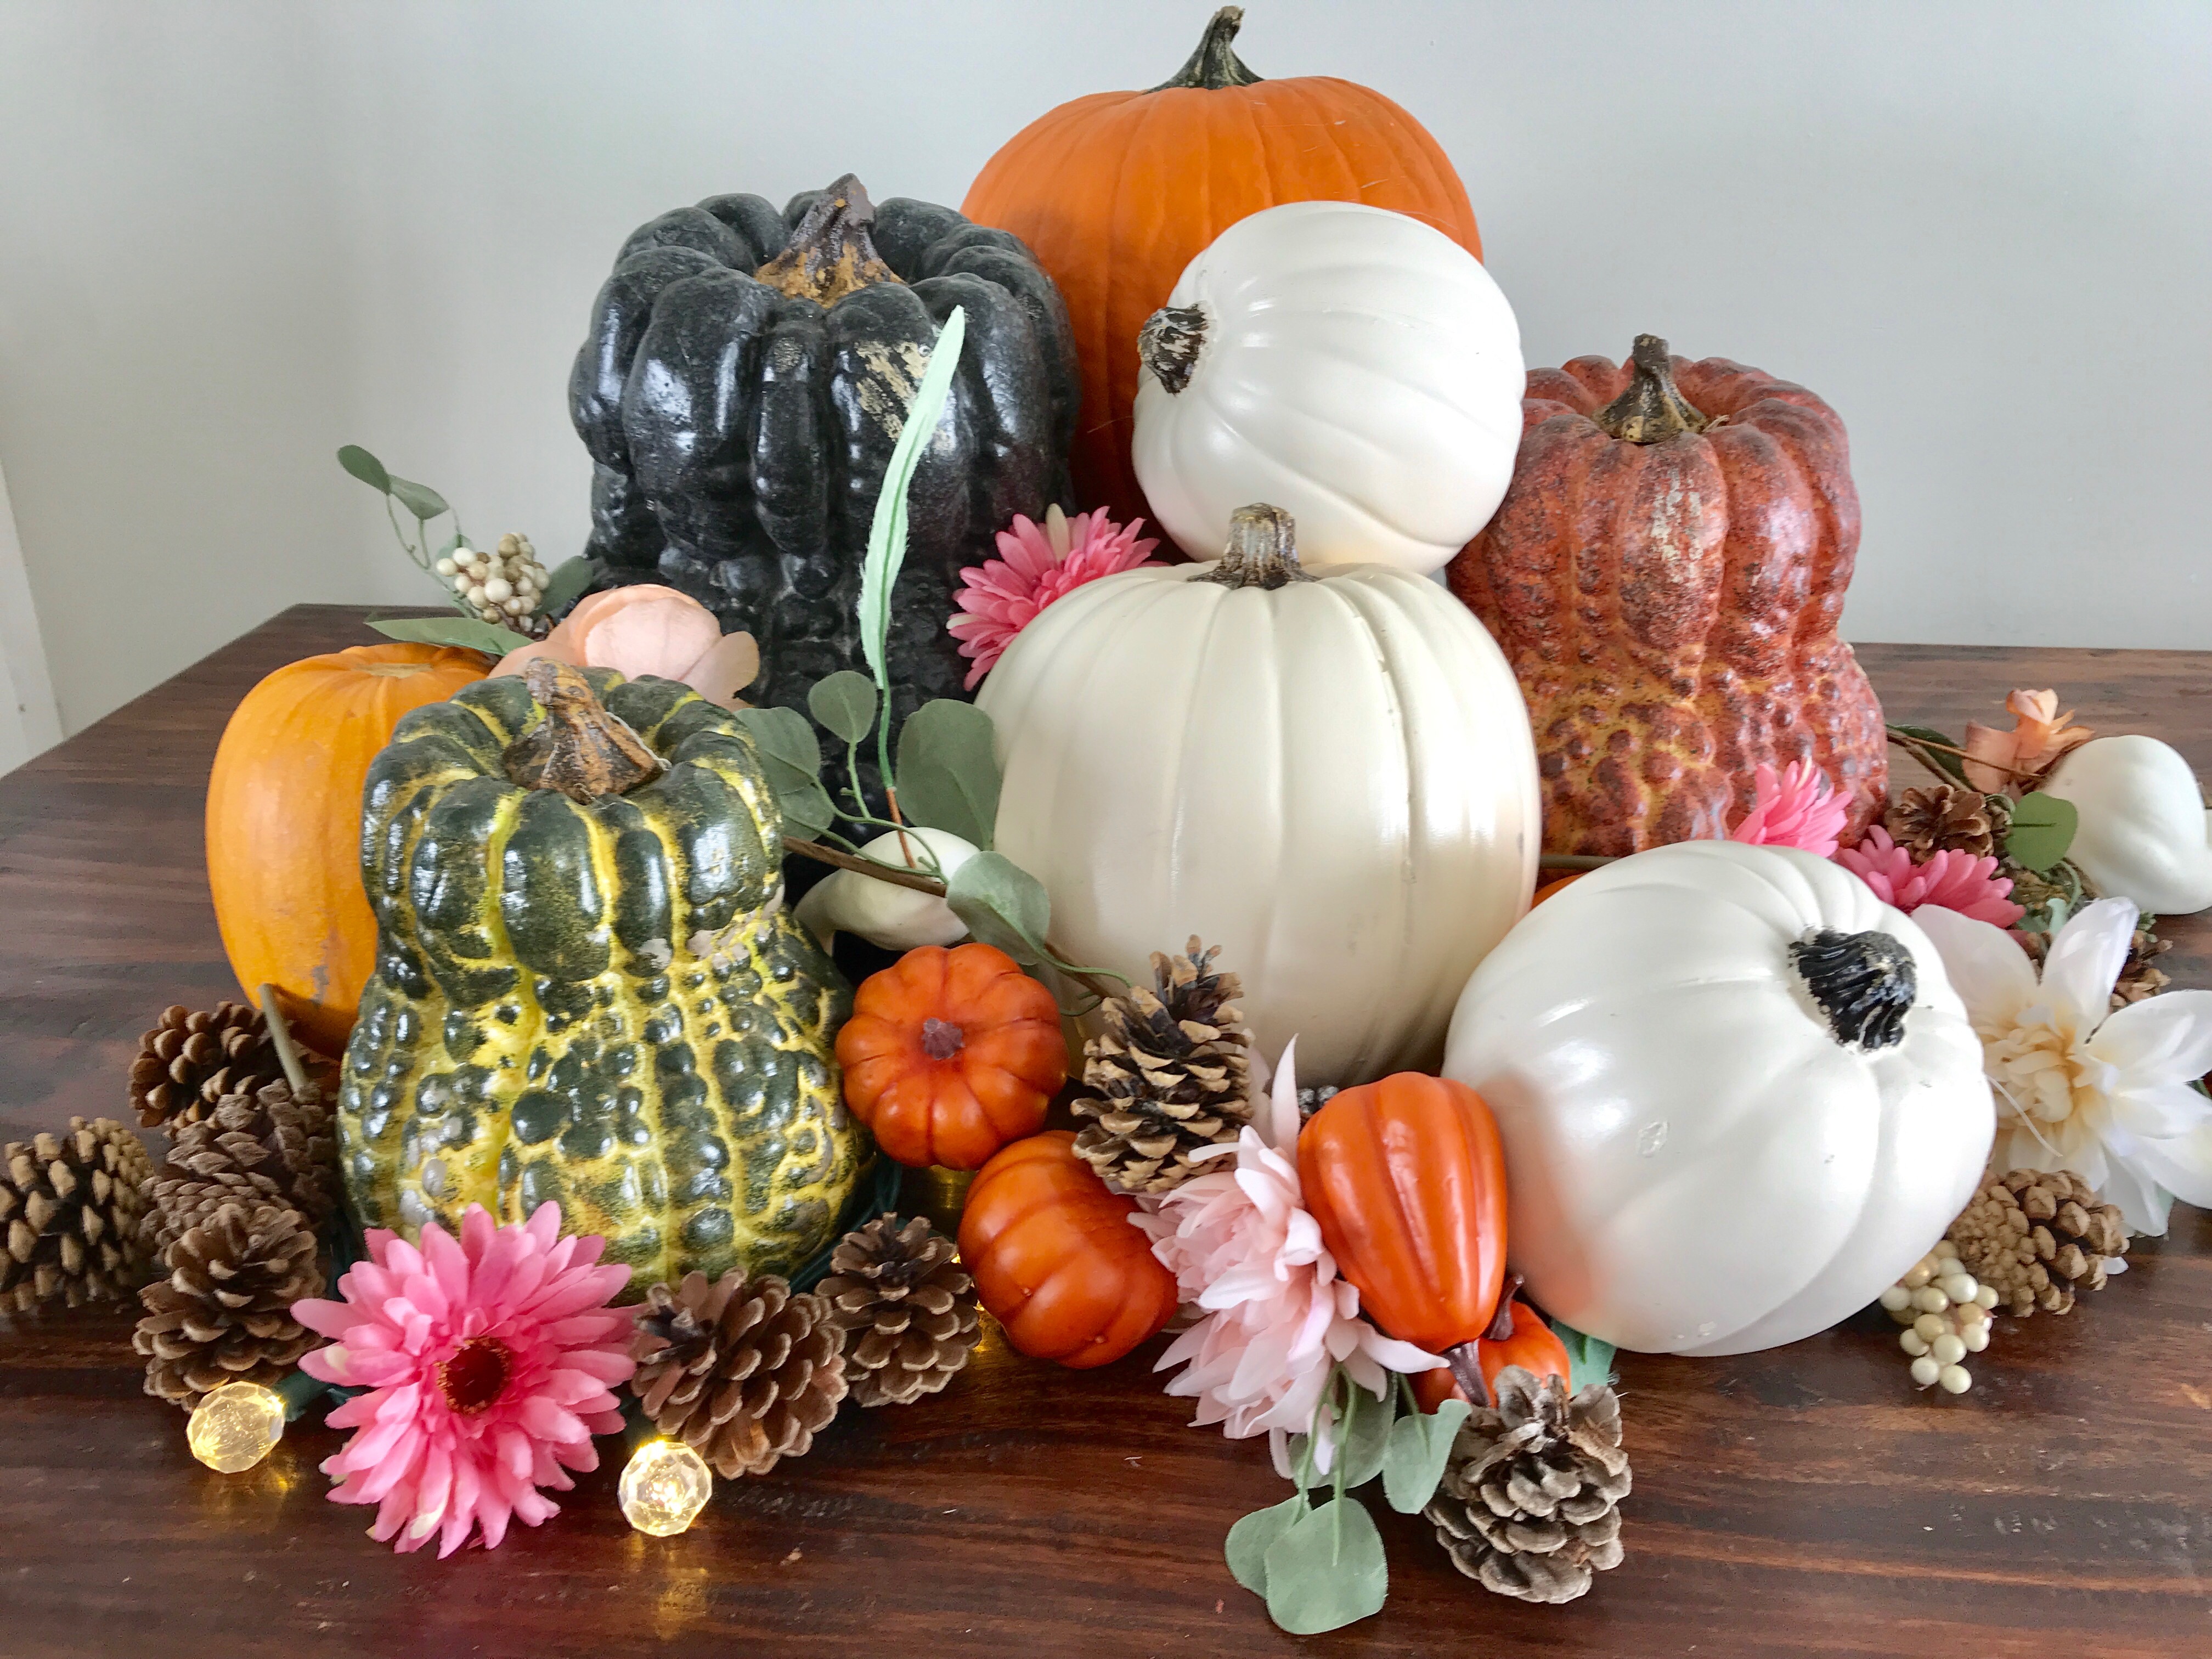
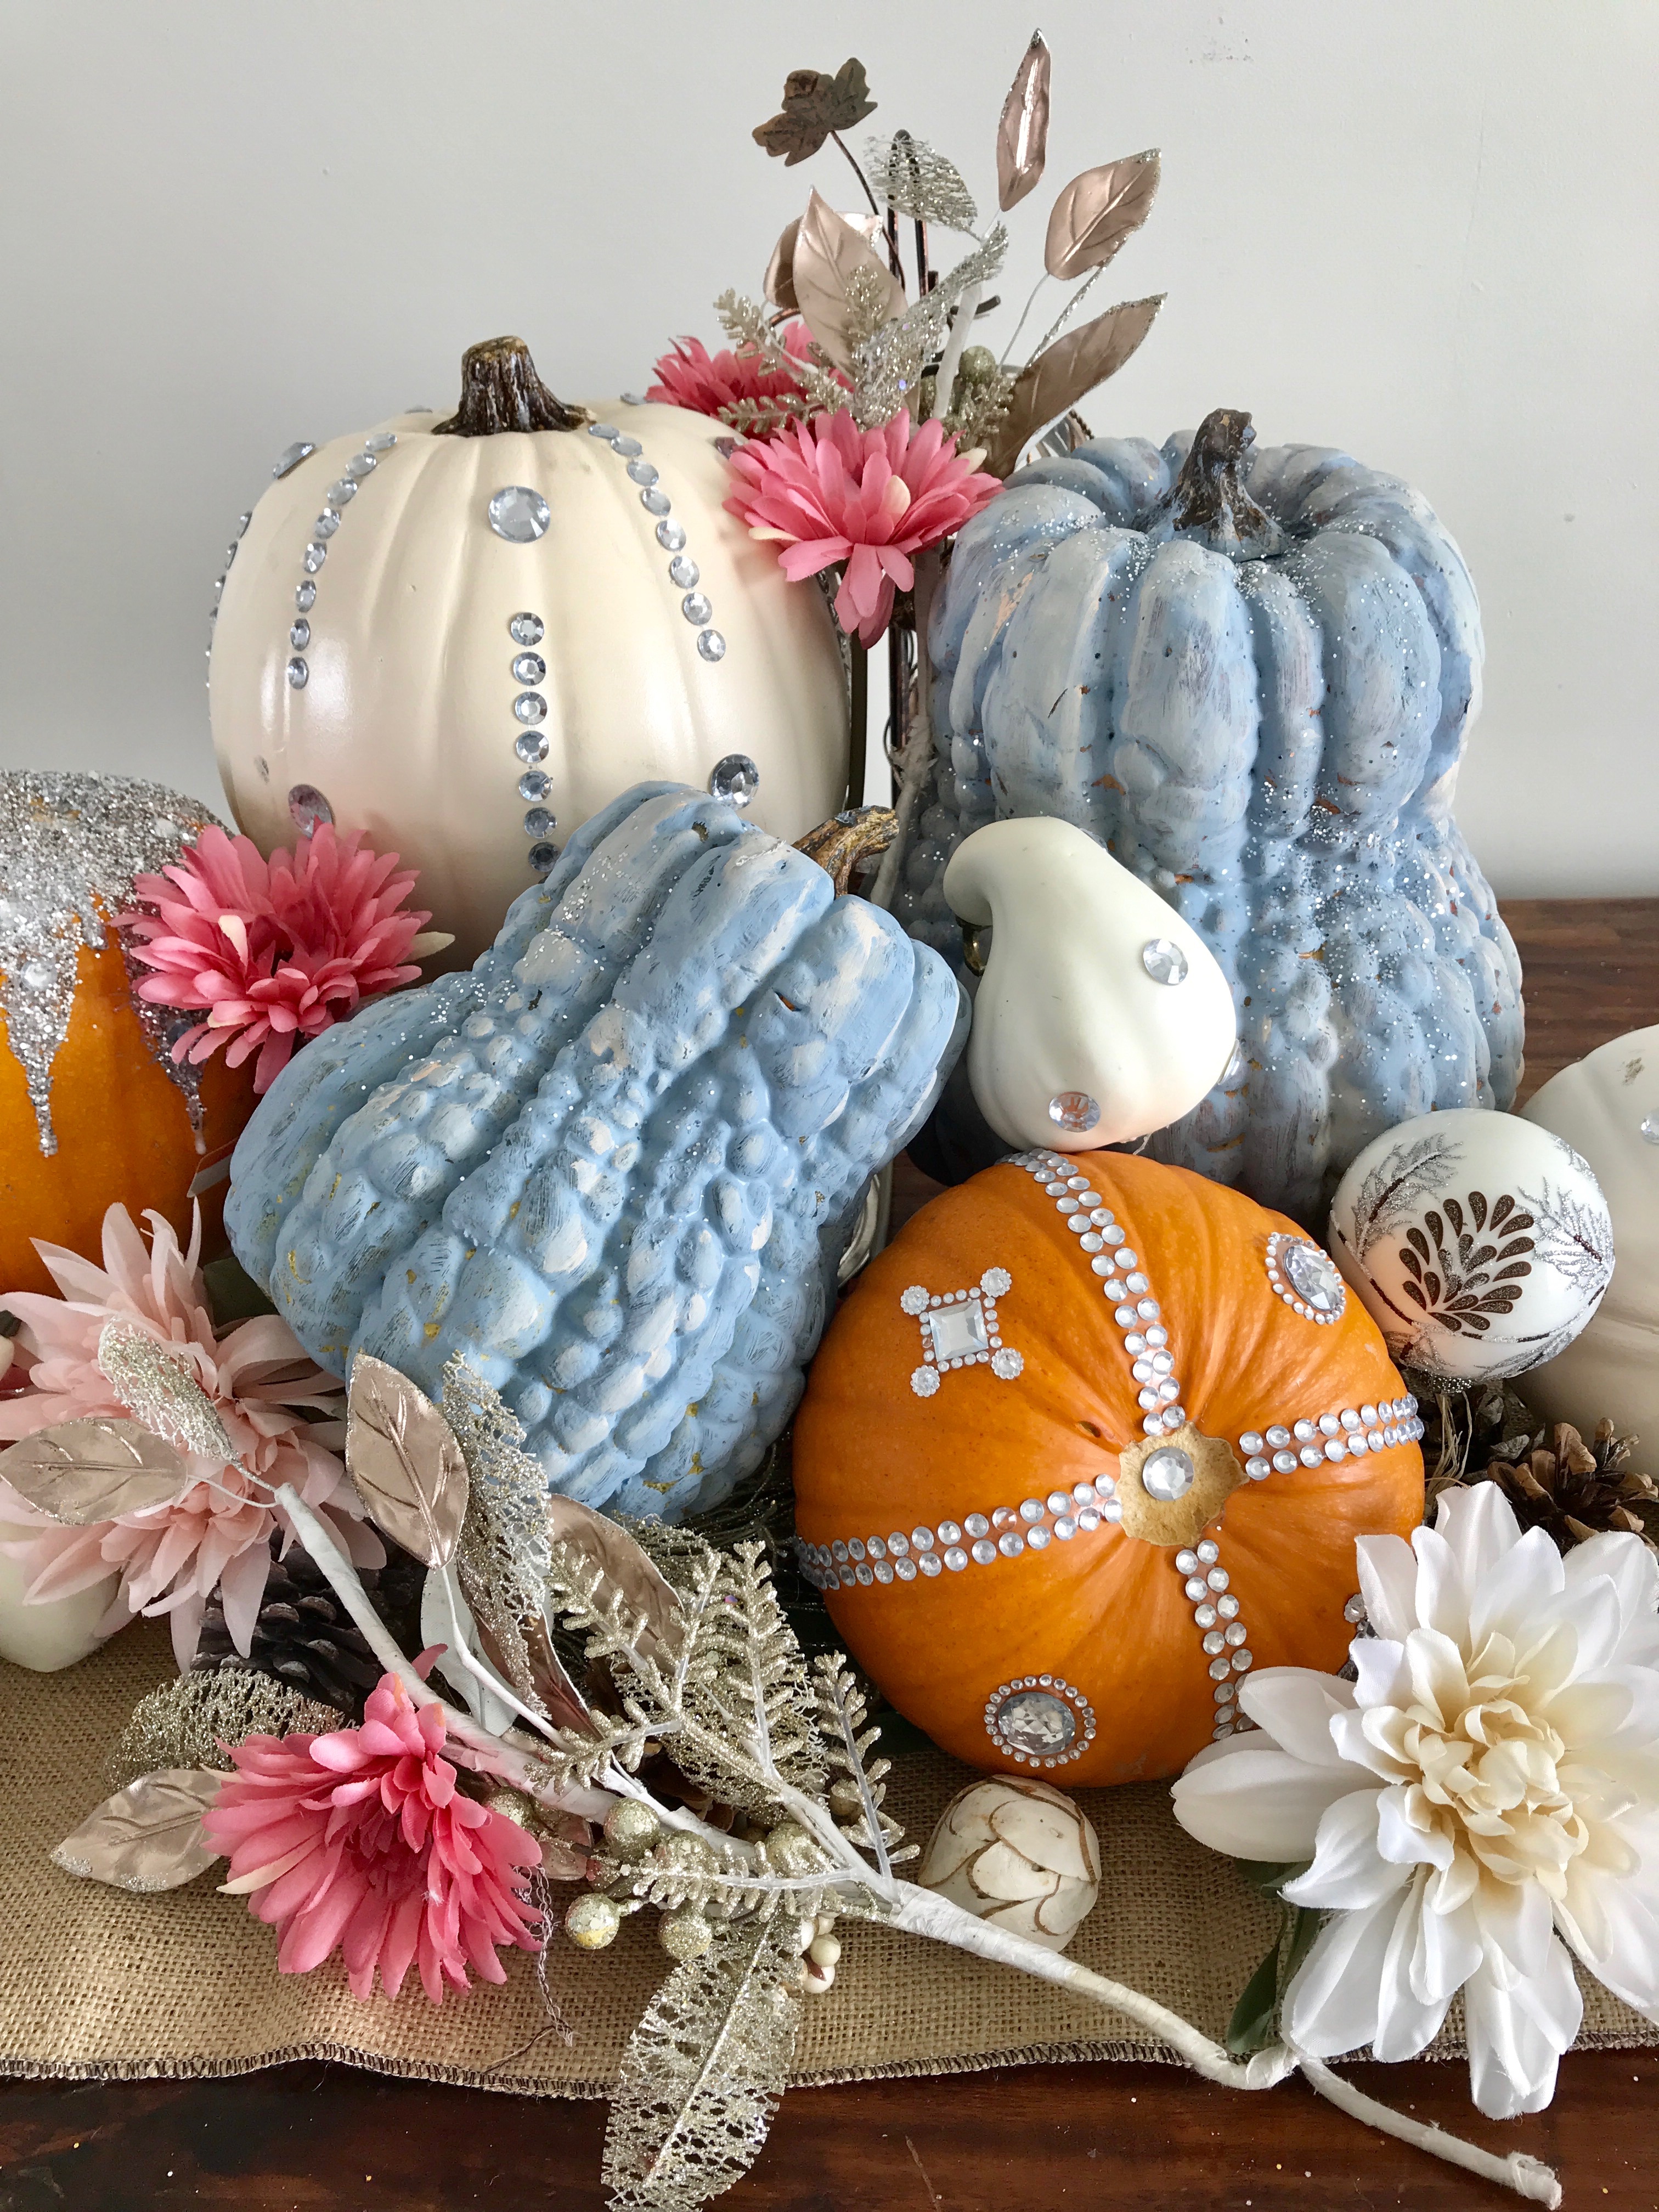
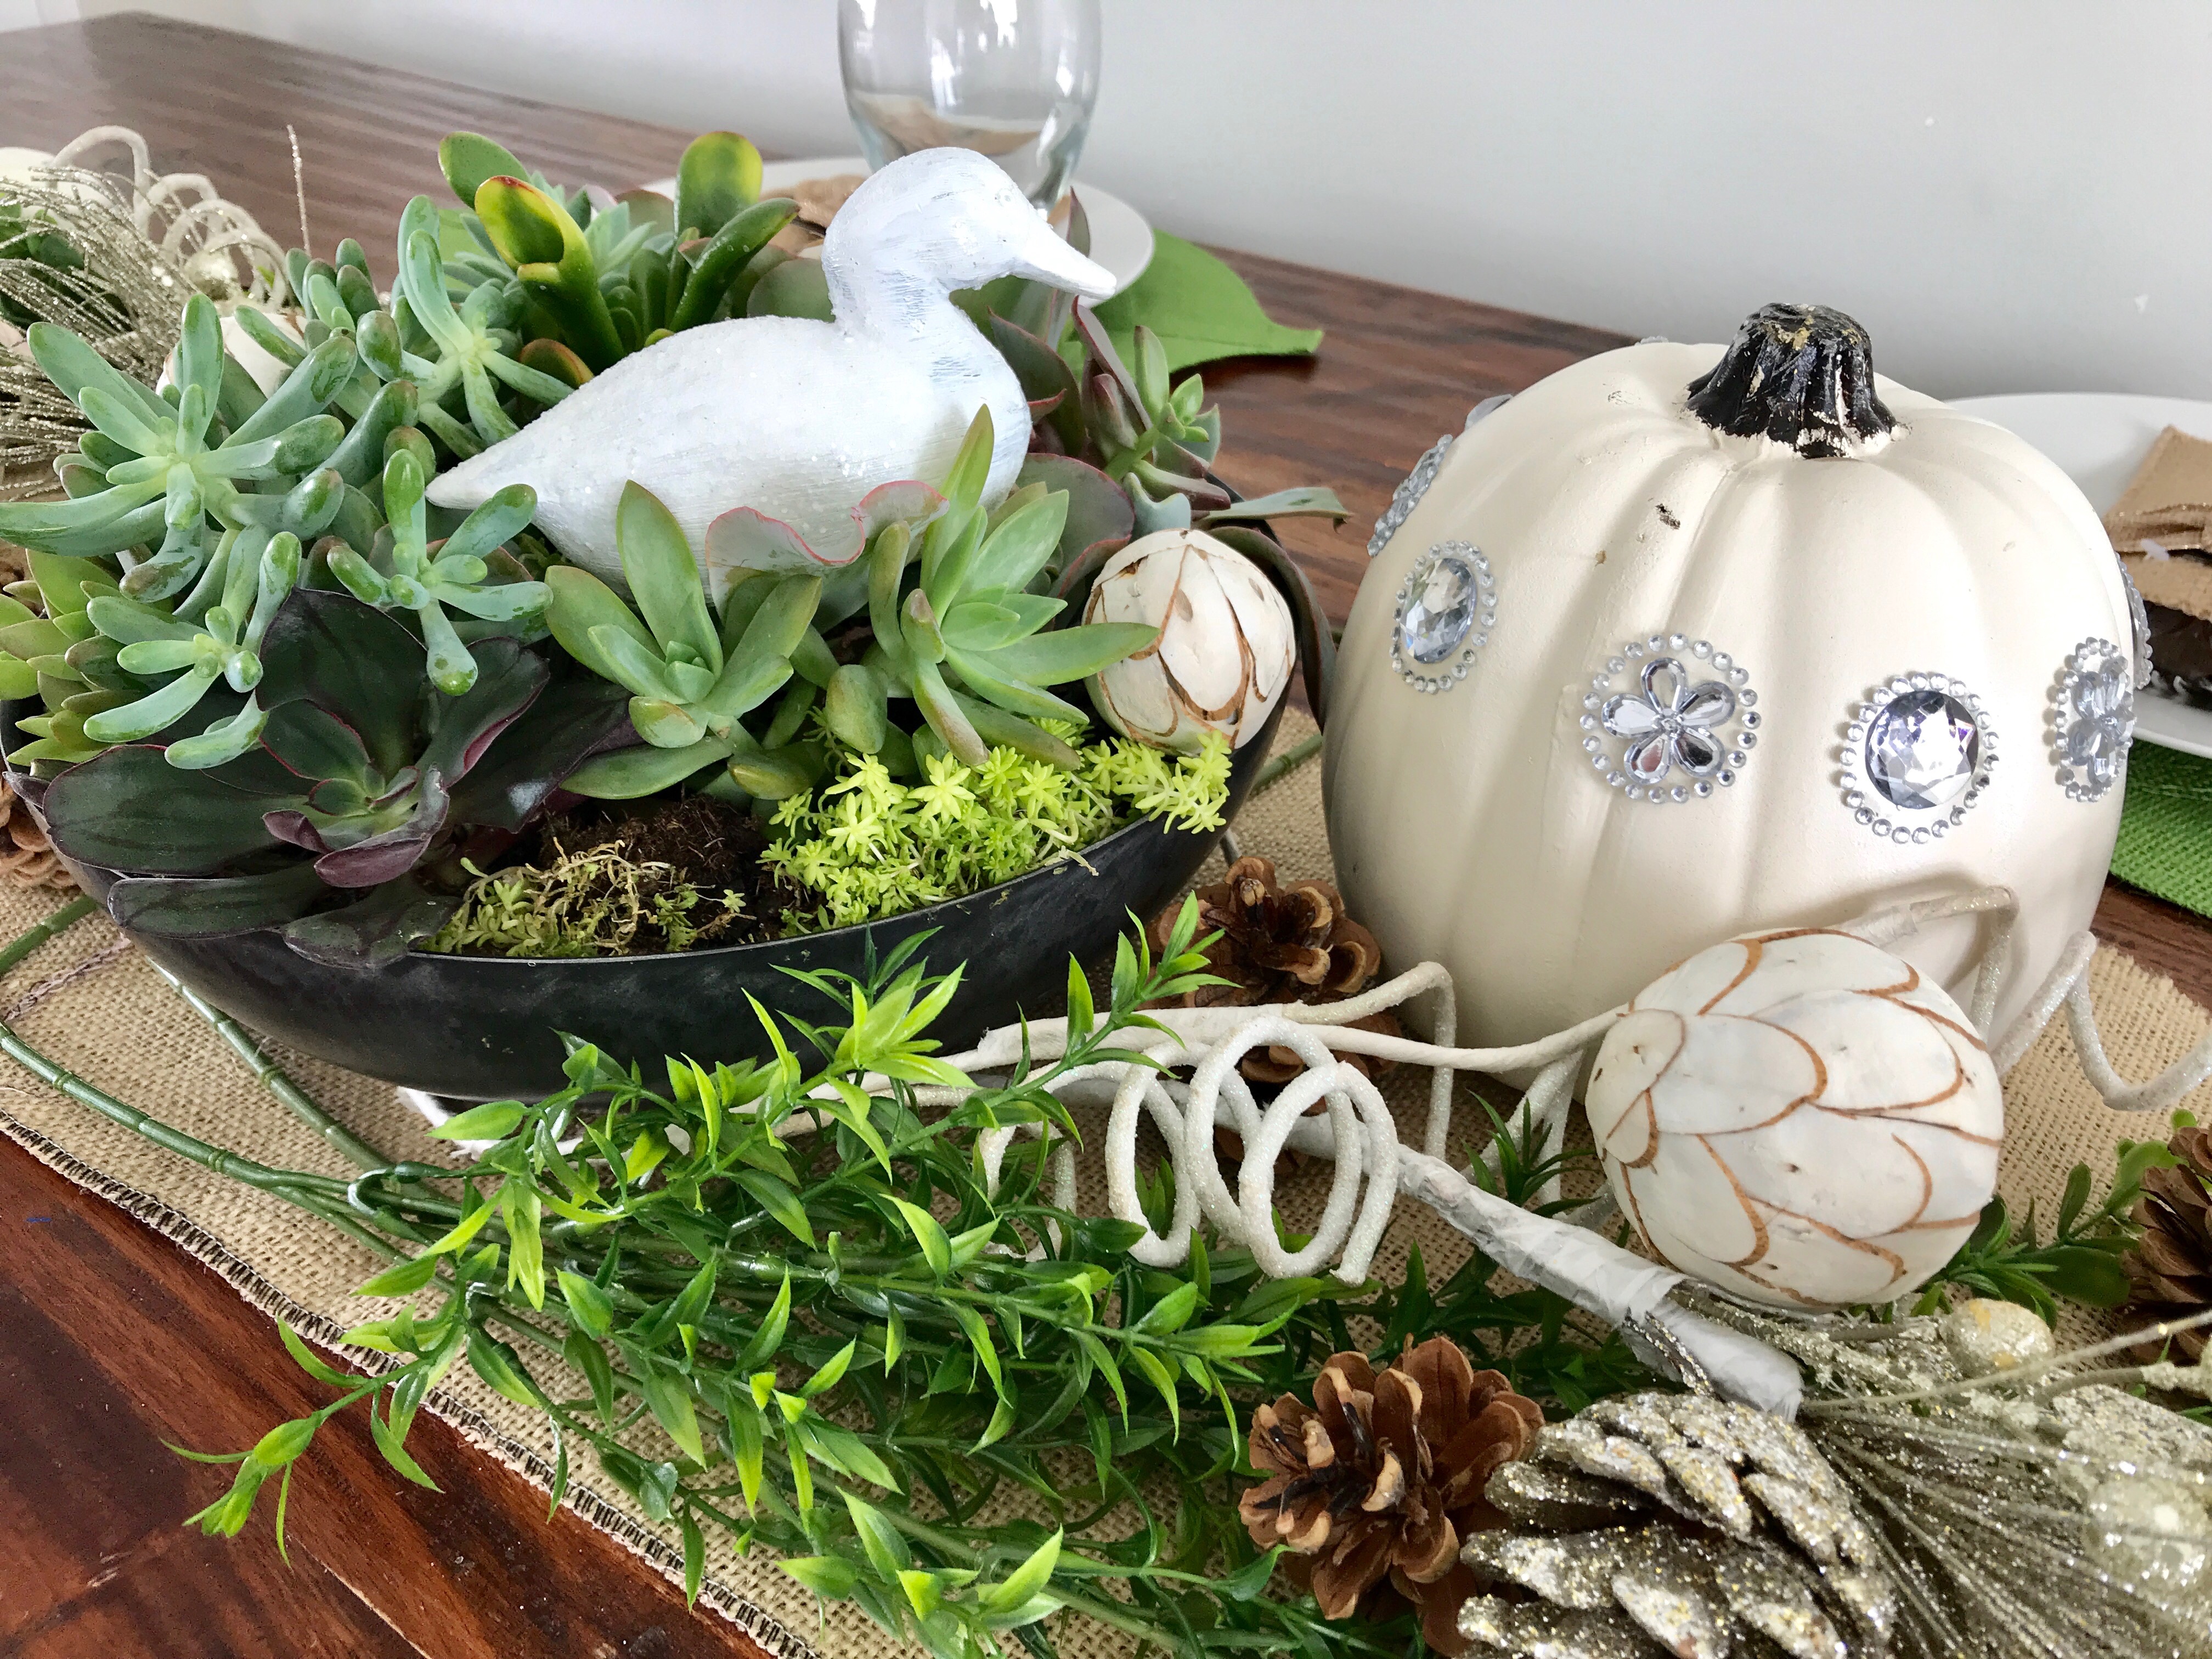
 At Showhome furniture we are always arranging and rearranging our tables to help showcase their beauty.
 Recently I was visiting my mother showed me an easy way of creating my own unique but gorgeous serving dishes. These serving trays are the perfect thing for even a beginner do-it-yourselfer to try.
 All you need are some dishes, candle sticks, spray paint, and E 600 glass glue.
 I am using a large dinner plate and a bowl on top. This is perfect for veggies and dip, or a fancy fruit platter. I am also doing one platter that has a large plate on the bottom and a smaller plate on the top. I bought all my dishes and candle sticks at the local thrift store. The glue and spray paint I bought at my local craft store. It would have been cheaper if I did not spray paint my candle sticks but have left them clear-which looks pretty as well.
 Next, turn the largest plate over and glue the base on to the large plate. I used smaller candle holders for one base, a shot glass for another and an used ceramic vase for the last. Make sure your base is centered in the middle of you plate. Leave and let dry for 24 hours.
 When your plate is dry, flip your plate over and glue one candle stick into the middle of the plate. Carefully glue the bowl or smaller plate onto the top of the candlestick.
  Let dry for 24 hours.
 Once your serving platter has dried for 24 hours you can use it like any other serving platter. You can hand wash it, but be careful when you do so. Make sure you used indoor/outdoor spray paint so that the spray paint does not wash off.
 So for under 10.00 and with very little skill, you can create your own gorgeous serving platter that will surely wow your friends.